Friday, May 23, 2014

Birthday Cake

I love sewing, crafting, quilting. Being creative. It makes me happy and provides a great sense of fulfillment.  But it takes quite a bit of time to finish some of my projects. Right now I am working on a new counted cross stitch project. It may be days/weeks before I finish.

So I thought I would share another one of my skills. I really like to cook. I'd like to think of myself as a pretty good cook (minus this weekend when I almost set fire to my parent's kitchen...while my nieces sang "Let it Burn" instead of "Let it Go"). 

Moving on.....my little man turned three this past weekend while I was in Phoenix and we are celebrating his birthday tomorrow. Right now we are pretty casual about birthdays, so tomorrow we are going to the beach to have a picnic and throw rocks into the ocean, coming home to a cake and playing in the backyard, and rounding out the day with his favorite dinner, hamburgers. Life doesn't get much better!

But I did want to make him a special cake. Lately, there has been a lot of construction around us so as we are driving around I am constantly hearing, "Diggers! Mama, look! Diggers!" So what else could I make my birthday boy except for a diggers cake. 
Why, yes, I did use a mortar and pestle to grind my Oreos for the dirt. 

The type of root beer changes each time I make the cake

The kids took naps so I made frosting and saved them a beater each. Lucky kids!

Found the diggers at the dollar store!

Looks and taste awesome! 
I didn't butter my pans very well so one of the cakes didn't come out as easy as I would like. Oh well. I used it to make the construction site and the kids got a piece of preview cake this afternoon.


I'm going to share my chocolate cake and frosting recipe with you but I will warn you of a few things:
  1. There is a little bit of time that goes into this cake...not a lot, but more than just your average cake. 
  2. All other chocolate cakes will be bland, dry and less desirable to you after you eat this cake. It's so good. It's not too sweet but the combination of the cake and the frosting.....heavenly.
  3. Yes, it does have root beer in it. No, it does not have a decidedly "root beer" flavor to it. 
  4. I do tend to buy a microbrew root beer rather than A & W or the other type of root beer that is pretty well known but whose name escapes me right now and I'm too lazy to Google.  I don't know why I use a microbrew root beer...my sister would probably say it's because I'm a snob. 
Root Beer Cake
(I can't remember where I found this cake. I've been making it for years, if anyone knows who is the original author, let me know)

2 c root beer
1 c cocoa powder
1/2 c unsalted butter
1 1/4 c sugar
1/2 c brown sugar
2 c flour
1 1/4 tsp baking soda
1 tsp salt
2 eggs

Preheat oven to 325 degrees.

Spray/butter two cake pans and set aside.

In a saucepan, heat root beer, cocoa powder and butter until butter melts. Add sugars and whisk until dissolved. Remove from heat and let cool about 15 minutes. 

In a large bowl, whisk flour, baking soda and salt. In a small bowl whisk eggs until just beaten. Then temper the eggs into the cocoa mixture until just combined. Gently fold the flour mixture into the cocoa mixture. Batter will be slightly lumpy. Do not over mix.

Pour into prepared pans and cook 25-30 minutes. Rotate 1/2 through. 

Frosting
2 oz 60% cocoa, melted
1 stick butter, melted
1/2 tsp salt
1/4 c root beer
2/3 c cocoa powder
2 1/2 c powdered sugar

Beat butter and cocoa powder. Add chocolate, salt, powdered sugar and root beer. Beat until smooth. If the frosting seems a little thick, add a few tablespoons more of root beer until you reach the desired consistency. 

Frost that cake anyway you want!

Eating both the beater and a piece of "preview" cake

Going back for more

Enjoy!

Thursday, May 15, 2014

Two Quilts Done!

I finally finished my sister's quilt! I'm very happy with it.

I wasn't sure if she was going to hang it in her house or actually use it as a blanket so I added these little triangles in the corner. She can easily put in a dowel and hang this if that is what she so desires.

Making these triangles makes it so much easier to hang!

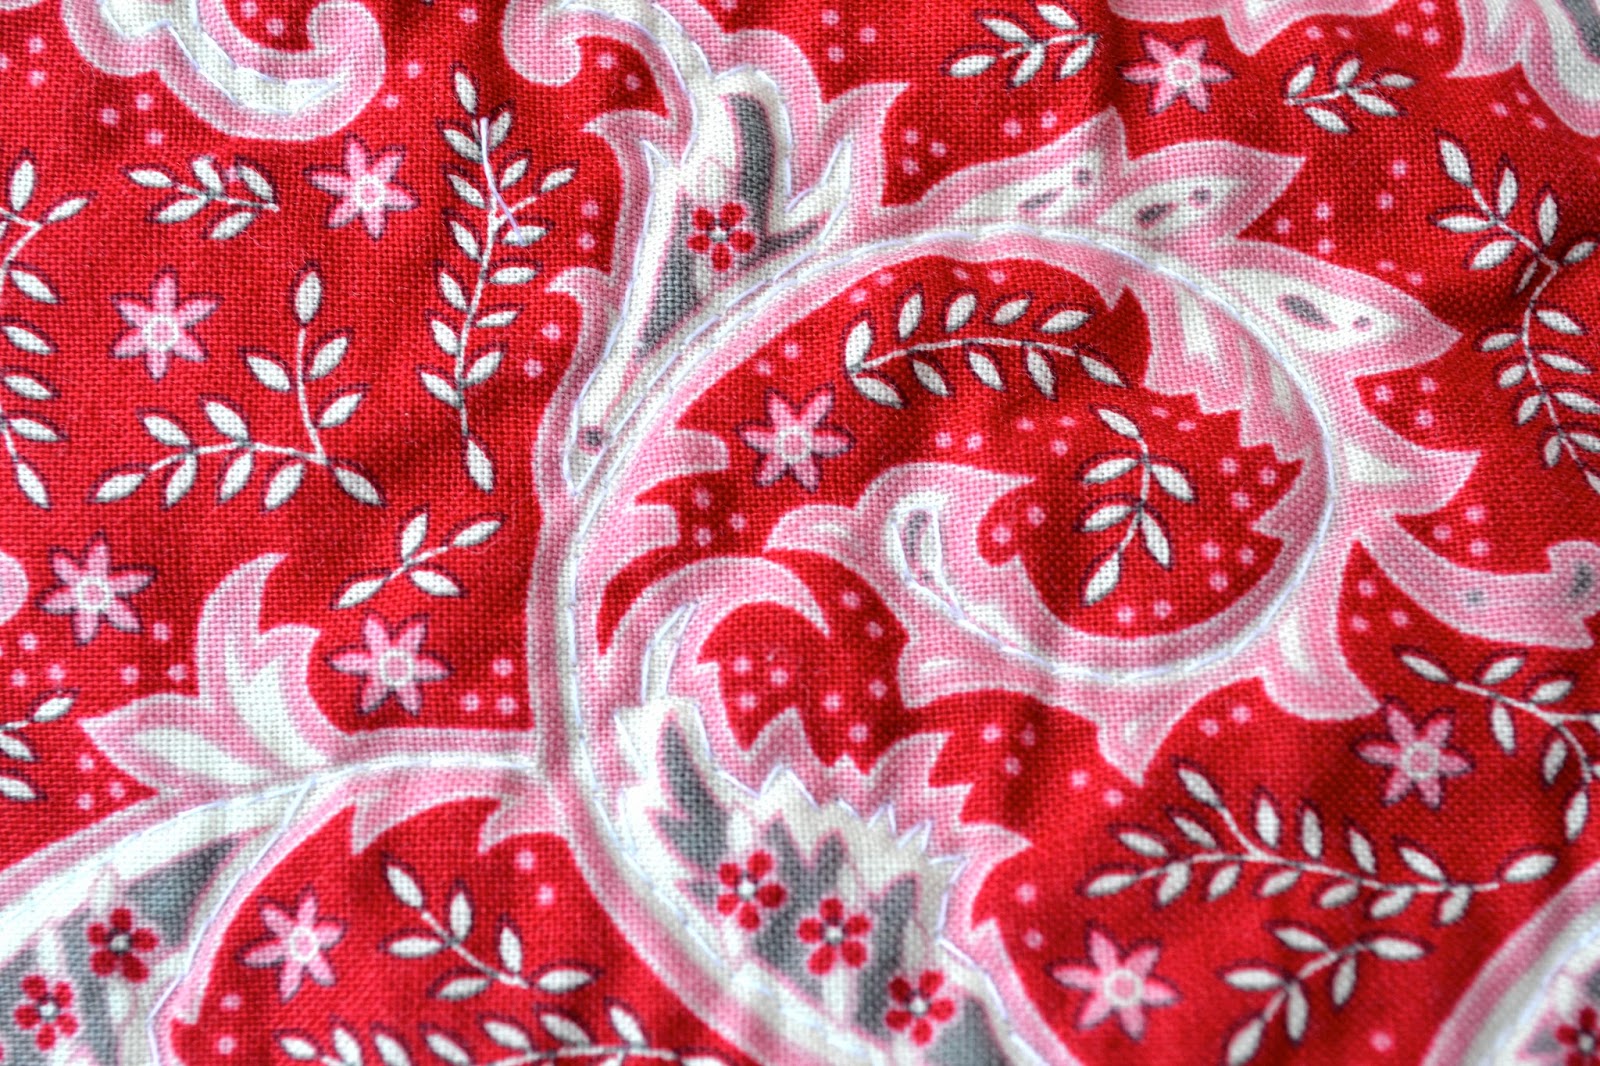
The longest part was the hand quilting around the border but I like how I followed the pattern. I tried some other templates on my machine and they were just too intricate for my expertise level as well as my machine capabilities. Of course, about three days after I was done I found a pattern that would have been perfect and I would have been able to do on my machine but....I'll just tuck that away in the ol' brain box for some other quilt. Besides, it was kind of nice to do it by hand.


I did learn something with this quilt. For some reason I made my binding only 1 1/2" wide and it was something of a pain in the rear end to fold it over and attach.              
The binding is way too small!

The final product:

Lap quilt or easily a wall hanging


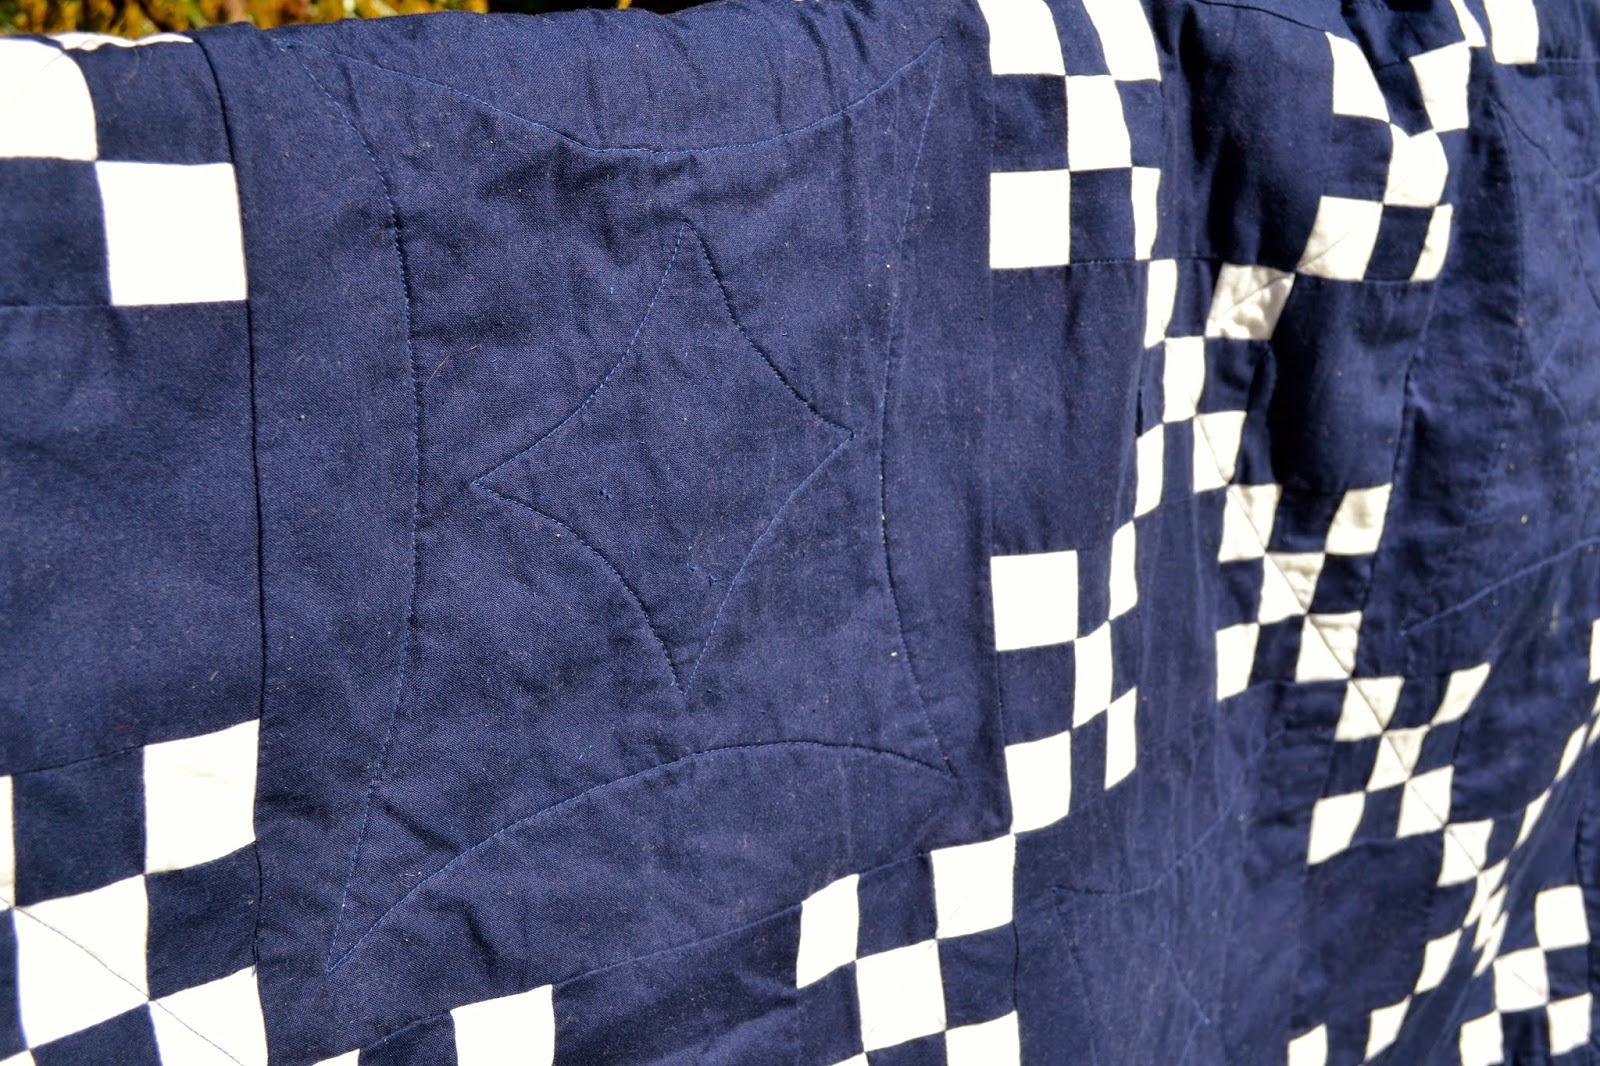
This other quilt is one that my mom started twenty-something years ago and it was supposed to go to my younger brother. But since procrastination/distraction/avoidance are hereditary (!) my mom didn't finish this until this past February when she brought it up to my house to complete. She and my dad came up for three weeks-'cause, you know, the ideal time to come to the Pacific Northwest is February/March. Anyway, she finished quilting it. She had originally tried to hand quilt it but it was causing her too much pain in her hands so she used a quilting template found here. It seemed to work pretty well for her.

Twin sized!

3' binding-much easier to work with!

Nice and easy quilting!


She wasn't able to finish the binding before she left so I told her I would finish that for her. Once I finished my sister's quilt, I was able to finish that one, too.


Makes me happy to have both of these quilts off my sewing table.

What next?

Gotta pull something from the lottery!

Thursday, May 8, 2014

Stop what you are doing and make this!

So last week on Facebook, I posted a little teaser about a project that I made in an afternoon.

(By the way, you can find me on Facebook right here-let's be friends!).

Seriously, the moon, planets and stars all lined up in a wondrous combination of beautiful weather so the older kids were playing outside, popsicles, and a baby that took an epic (and necessary) three hour nap.


I would have had this whole project done in that time if I had had all the pieces together in one place and didn't have to go hunting down the piping in the shed.  But once all the kids had gone down for the night, I was able to finish it.

What did I make? Oh, just the very first craft tutorial I every pinned on Pinterest.

It is a pincushion/thread catcher. You can find the tutorial right here.

I have followed many a tutorial on the internet and this was, by far, one of the easiest. I was able to use up some fabric from my stash and cross another item off of my lottery list. I'm going to give it to my mom for Mother's Day-it is a GREAT gift for Mother's Day, birthday, whatever. Make one for yourself.


The only thing I changed was I used some leftover piping my husband had for the pond outback as my "cording" and it worked just perfectly. When I was sewing it in, I just put the foot right on top of the piping with the needle as close to it as possible and sewed away. I only hit the piping once and it the needle didn't break.

Stop what you are doing and go make this!