Tuesday, December 17, 2013

Transforming a Sweater into a Dress

As I mentioned in my last post  I realized I had pulled some lottery numbers during this past Fall and have been able to cross a few projects off my list.

The second lottery pick was #56: Re-purpose a Sweater Into a Little Girl Dress.

I LOVE second-hand stores. St. Vincent de Paul, Goodwill, Value Village. I love them. I have scored some amazing finds at second hand stores (I'm looking at you Burberry jacket for $12). Frankly, trying to cram three kids into a dressing room is...well...impossible. Just impossible. I am picky, then, to make sure I get clothes that fit and fit right because I don't want to have to try and take them back or just re-donate them-that's a waste of time and money. When I first saw this sweater I thought it would fit me great but it turned out not to be as tailored as I would like it.

Thankfully, I had pinned this post on how to re-purpose a sweater into a dress for a little girl. I thought this would be perfect this Fall for Little Missy since she loves long sleeves and long dresses.

Making this little dress only took me an afternoon (the youngest took a GREAT nap!)  but I did have some problems along the way. I had a tough time when it came to making the neckline a little smaller-I think I took it out about four times and, even now, I'm not completely thrilled how it came out. I don't know if I cut it wrong or what, but it was somehow harder than it looked.

 I did use one of Little Missy's dresses as a comparison to determine the curve of the both the neckline and to take it in and that really helped.


I'm a little bummed I didn't take more pictures-especially of what it looked like after I cut the sleeves off; if you look at the original post she took some pictures of what it looked like. This was also challenging for me since I tend to like to follow pretty explicit directions; however, I found it kind of fun to wing it where I was going to cut and sew things back together. I felt like a fashion designer!

Overall, I liked how it finished. She ended up wearing it for the first time to her Thanksgiving feast at school. I added a little belt to give it a little oomph. I tried desperately to get her to pose for a picture after we had trimmed the tree a few days ago but she was having none of it.

Hanging her ornaments on the string of lights!

She does not like the flash!

So! Two more items off my list. I am almost done with my niece's quilt; I am determined not to go into 2014 with it still on my sewing table.

What do you want to finish before the New Year? 

Wednesday, December 11, 2013

Log Cabin Ornaments


After I wrote my last post, I realized a few things:
1. I don't think any of the crafts I had written about were on my Master List. Oops!
2. I forgot about a couple of things I had made and BOTH of them I drew from the lottery. Happy Day!

The first one pulled was #44: Complete Christmas Ornaments to Hanging Quality.

So, once upon a time I was going to sell some of these ornaments I had made. No one wanted to buy them and I gave away the ones I had completed as little Christmas gifts to various people. I still had quite a few leftover that were unfinished. All they really needed was some backing, a ribbon and then I quilted them with a simple stitch-in-the-ditch and I finished them off in an afternoon. A few I have hanging on my tree and the rest I will give away at Christmas this year. At least they are done and out of my sewing hamper! Here's a pictorial history from finding them unfinished to hanging them on my tree.


The log cabin had already been sewed as well as the batting on the back
I had even cut the backing out for each of the squares. They measured 4"x4"

I added the ribbon


Then sewed right sides together. You can see here I left an opening for the ribbon (which I forgot on this ornament) and to pull it right side out. 


At this point I was ruing the fact I hadn't left a bigger opening as I pushed the fabric through the tiny hole.


The corner hadn't popped out very well....
...so I used my handy dandy chopstick to pop it out!

All better!

Then I pinned (maybe over-pinned) the rest of it shut and used a slip stitch to close it off by hand. 

Oops! Got a little carried away with the chopstick-you have to be careful. I fixed that with a slip stitch as well.


Finished on my tree!

I'll post the next item from the lottery I completed this Fall in a few days. It's pretty cute!

What kind of ornaments do you have on your tree?


Tuesday, November 26, 2013

Fall Recap

Oh friends!

I knew having a baby would put a damper on my ability to sew and craft for a few months. I even told myself that it would be at least three months before I was able to get back to the blog. But here we are a little over four months after My Sweet Baboo was born and I'm just starting to think I can dip my toe back into the blogging waters. Even with the new baby I have my two-year-old (His Nibs) hitting his Terrible Twos in stride. Man, has he got a case of the terrible twos. And my four-year-old (Missy), is navigating going to pre-school and learning all kinds of new things-both good and bad. It's great to watch all of them grow-and sometimes I wish I could stop time-but handling all three has kind of put a hamper on my time to craft and sew and create. Honestly, some days it really bums me out.

But here I am! I have been busy with Halloween crafts and costumes, finishing my nieces quilt and working on some gorgeous GORGEOUS Christmas pillows. My mom keeps on asking me where I find the time and I just keep on telling her my house is not immaculate. There is a load of laundry that needs to be folded and two more loads waiting their turn as well, and I am trying to figure out how to get a mustard and blueberry stain out of my husband's work clothes (any ideas?). That is all going to have to wait because I really wanted to get a post done! And maybe continue to work some more!

So here's what I have been doing!!!!

Halloween Costumes! I love them. I love making them. I love the homemade look. I love looking through all the stuff we have and trying to incorporate it into a costume without having to buy too much stuff. It's a great thrill for me. Missy was a peacock this year. I think this will probably be the last year I get to decide what she is and when I saw this post on Pinterest last Spring, I knew it was for me....I mean, my little girl!

I used it mainly for inspiration and if I had to do it over again I would have made more peacock feathers (I made about 9-12) and attatched them to ribbon hanging from the elastic band; I think they would have stood out a little more. I would have also used some lime green tulle. That would have been pretty awesome too.


Making the tulle skirt is so easy! 

As for my son, he needed to be a Ghostbuster! Many moons ago my older brother made a Ghostbuster costume for my younger brother and for some reason, I thought His Nibs should go as one this year. So I needed to make a proton pack. I spent quite a bit of time looking at them on Google. Luckily, my husband has more computer parts laying around than he knows what to do with and I put them to good use. 


The above picture is a little wonky but a combination of a hot glue gun and lots of duct tape made this bad boy come alive! I used this heavy duty cardboard my contractor had laid on my floors and it was able to withstand the multiple paint jobs and weight of the computer components. Jacob from Home Run Solutions cut me off a huge piece of it to use and without it the whole idea might never have taken shape! Thanks, Jacob! 

And, just because, here is My Sweet Baboo! Or monkey!

I did not make this costume but bought it when Missy was about three months old and all three kids have worn it for their first Halloween. I love it!

What else? What else have I been working on? Oh! My niece's quilt. That's coming along nicely. I just have to bind it and I am done. I think I will devote another post just that one since I have lots to talk about.  Plus my husband took some hilarious pictures of me quilting the borders. 

I made some Halloween luminaries out of mason jars. That idea was found here. I don't have a great picture of them but I made about a dozen-4 jack-o-lantern type, 4 ghosts, and 4 monster- and they were pretty cute. I lined them up along the path to my front door and I really liked them. I got some great responses back from neighbors-one who jokingly threatened to steal them- and parents, so that was fun. Next year I will take a picture! 

What else? What else? 

Oh right. The pillows. I'll just share this picture with you but these will definitely get their own post. 

My friend Taylor and I are making these for our moms and ourselves Christmas. They are so easy. So beautiful. So lovely. Here's one of them: 


Honestly, I changed the pin in the middle and it really makes it pop. I have made three so far-two in the blue and silver and one in red burlap with a cream flower-and they are just so great. I am hoping to get them all done this weekend and I will write a post just to them, I promise!

So that's what's been happening here. I hope you all have a wonderful Thanksgiving. To paraphrase Bishop O'Brien, "When you are giving thanks for the turkey on the table, don't forget to give thanks for the turkeys AROUND the table." HA!


Monday, November 11, 2013

I need your help!

I have been busy, people, very busy! Not just with everyday cooking and cleaning stuff but with crafting! Sewing! Painting! Have I blogged about any of the things I have completed? Not even once. Have I thought about blogging about all the things I have created? All the time.  Hopefully the blogging part of this will happen vey soon. 

I have a dilemma for all of you and I need your help. The next pick from the lottery is to finish a quilt for my sister. The quilt top is done, all if have to do is get some backing material, quilt and bind the quilt. My dilemma is this: I have enough fabric leftover from the quilt top to sew together the back of the quilt. Do I use all of this beautiful material for the back of a quilt or do I buy more material for the back of the quilt and then make a brand new quilt with all of this amazing fabric.

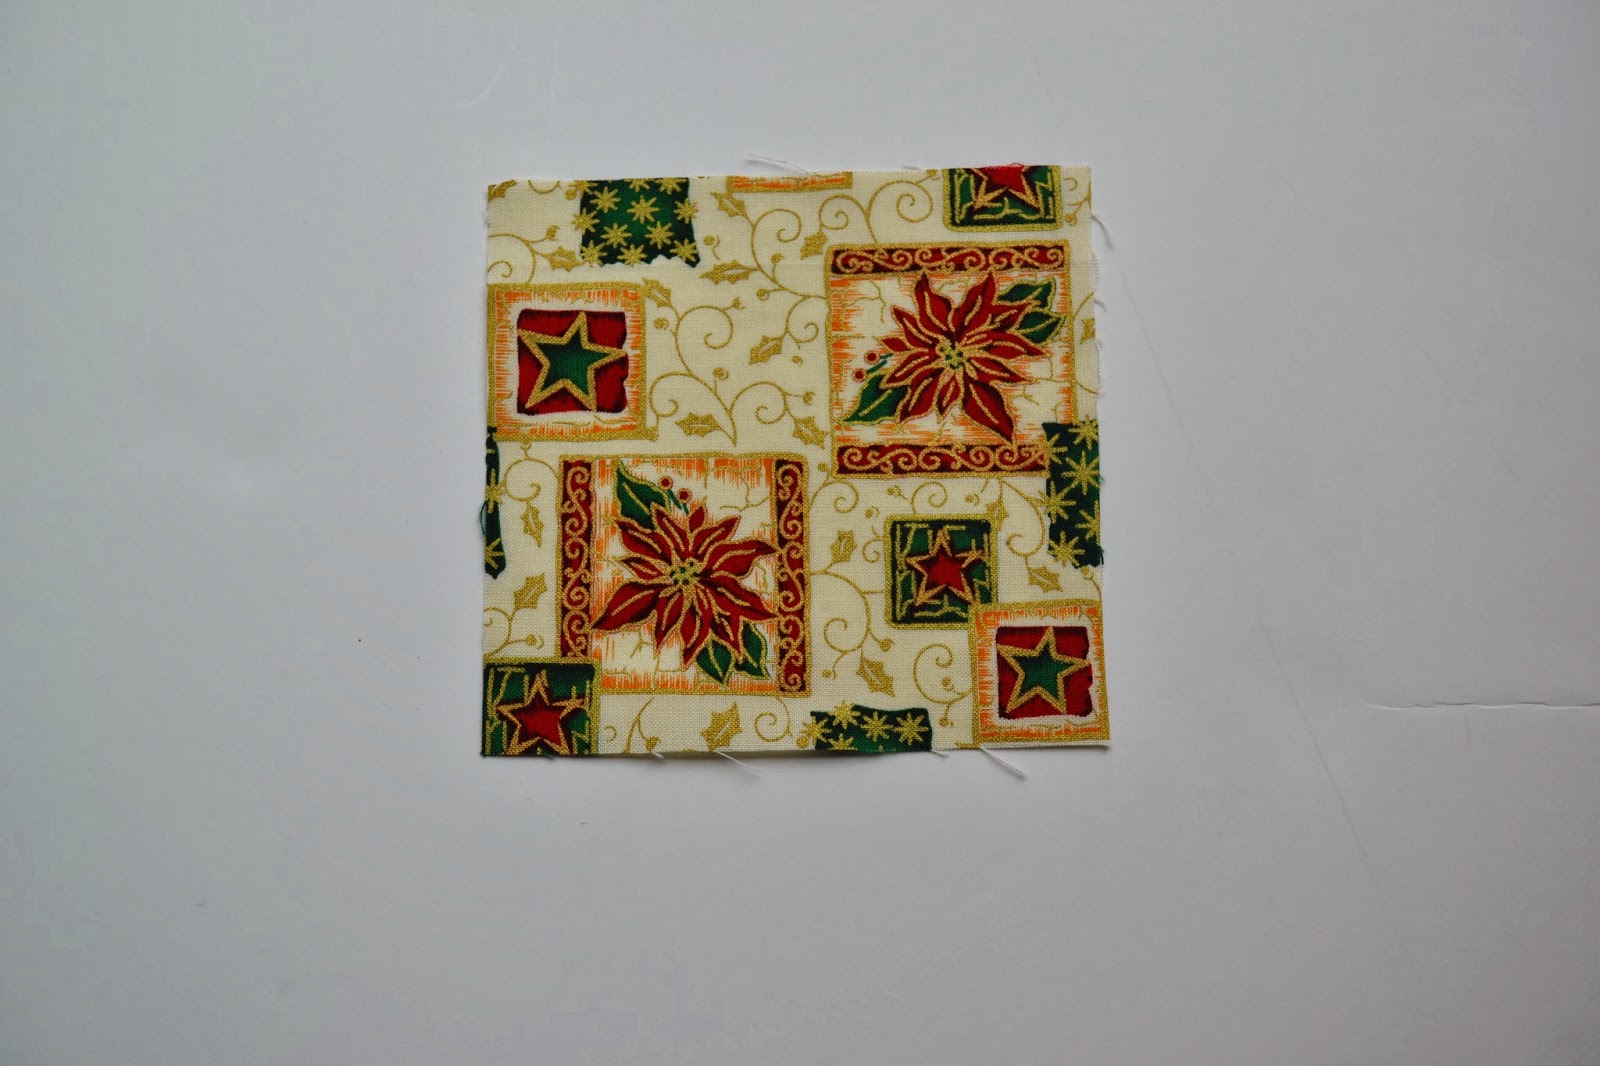
Here is a sampling of what the fabrics look like that I will be working with on either the back of my sister's quilt or a brand new quilt. 

Tell me what you think I should do in the comments below!

Monday, September 9, 2013

Moms are Awesome (Part II)

Just a quick post today of some more stuff my mom made.

Some of these were made by her many years ago but she either got tired of them, couldn't find a place for them anymore or....who knows? I was very happy to give them a new home here.


The first two used to hang in her house. There is no date on them so I'm not sure when she completed them-I'll have to ask her. They are a nice addition to my family room.


Half of my family room doubles as a play room for the kids. Who am I kidding? My whole house is a playroom and the family room is just where the majority of the toys reside.

We originally saw this at Bayside Quilting  last year. I think she was feeling a little bad that she hadn't made much for my son (this was before the quilt she is currently working on), and I had originally intended to put it in his room.  But with the arrival of My Sweet Baboo in July, it made more sense to put it in the playroom.

She completed it last year but I hadn't gotten around to hanging it up so she did while she was here this summer. My mom loves to hang stuff-every time she is here I always have her hang a whole bunch of pictures and whatnot. Plus, she's really good at it!

I found the pennant at Cost Plus World Market! 

A fun map of the world!

I like all of the flags of the world as well. 


The kids like it and we have a lot of fun talking about all the different places in the world.

I was really happy to have my mom here for such a long time. She gave up five weeks of her life and in that time we organized my house, did a lot of cleaning and cooking, enjoyed each other's company and she got to have a lot of time with her grandchildren. I miss her but hopefully we will see each other soon!