Showing posts with label ornaments. Show all posts

Friday, December 26, 2014

Last Ornament Post, I swear

Before Christmas, I was working hard. After I finished the ornaments from the last post, I took another look around my sewing area and realized I had these ornaments as well to finish.


I just love the simplicity of these ornaments. I do remember them being super fast to whip up! 

Here's how I finished them to hanging quality: 

1. All three of the ornaments (there are two girl ornaments for both my daughters) were on one piece of Aida, so I cut them out giving them a 1" border all around. They ended up being 5.25" x 6" finished. 

2. I then cut out the same size of batting and backing fabric. I decided to use batting as a stabilizer as well as to fill it out a little more and make it hang better. 

3. I cut out 3 4" pieces of navy grosgrain ribbon. I formed a loop with the ribbon and layered it along with the backing, batting and Aida and pinned everything together. I added a pin to the ribbon to keep it in place. 

4. I stitched a second border 1/4" from the design.

5. Using pinking shears, I cut right along the 1/2" border being very careful when I got the ribbon so as to not cut it. 

You are done!


They look this cute:


What are you working on? Something for CraftBusters? Remember, the deadline is December 30th!

Happy Crafting!

Kate

PS
Don't forget, you can follow me on Facebook , Instagram , and Twitter!


Wednesday, December 17, 2014

Clay Ornament Recipe and Mommyhood Failings

Let's be honest, it's sometimes fun to read about the failings of others. Not horrific failings but, you know, that the bloggers we follow don't live in a world of perfectly iced cookies, seams that aren't always perfectly mitered, and children who don't happily occupy themselves for hours on end so they can finish whatever project they are working on.

Frankly, I don't know how other bloggers do it. Do they have help with the housework? With the cooking? Do they just order take out every night? Do they trip over trains in their living rooms their entire houses? 'Cause that happens over here (sadly not the help with the housework or the cooking). That's how things get done.

Unfortunately, even under the most perfect circumstances, things can go horribly awry over here. I'd like to tell you about it.

On top of all the stuff that has to get done at Christmas time, I received the notice my kindergartner needs to bring 18 gifts for each of the kids in her class. Of course, being me, we have to hand make them. I can't go out and buy 18 tiny tubs of Play Dough, or 18 pencils with cute Christmas-themed erasers. That would be way too easy. No, like a dummy, we have to make something. From scratch. Big mistake.

I decided that we should make ornaments. It's no harder than making cookies, right? I thought about the cinnamon ornaments you see everywhere but the dough is so finicky and my arms break out in a rash from mixing all that cinnamon and applesauce together. Plus, they take forever to dry out and harden. I didn't want to make salt dough ornaments but I did find this recipe for clay-like ornaments (see below).

So pretty! So easy!


They were really easy to put together and I added silver glitter right to the dough to give them a little pop.  I used both regular sized cookie cutters and these little mini cookie cutters in the shapes of snowflakes and gingerbread women/men. I diligently poked a hole at the top of each ornament before baking them but what I didn't do was make the hole big enough in the mini ornaments to thread anything through-not ribbon, not dental or sewing floss, nothing. Even though we had made them a week before they were due, I didn't notice the hole situation until 9PM the night before she was supposed to bring them to class and we didn't have enough of the big ornaments for everyone.

So cute! So useless!


Cue the mild cursing to myself.

I came up with a (lame) alternative and was done in less than hour but still.....

So Boring. 


Learn from my mistakes People! Poke big enough holes in your ornaments!

Recipe for Ornament Clay

1/2 c cornstarch
1 c baking soda
3/4 c water

Mix all the ingredients in a medium saucepan over medium heat. As the mixture warms it will get thicker and thicker. When it looks kind of like mashed potatoes, take it off the heat, cover with a damp cloth and let it cool. It doesn't take that long to cool but I couldn't get to mine until about four hours later and it was still perfectly workable.

Once cool, knead it together using extra cornstarch if it is too sticky.

I used two 1/4" square dowels as a guide to make the dough an even 1/4" consistency while rolling it out and then used cookie cutters to cut out the shapes.

Lay out all your creations on a parchment lined cookie sheet. Using a straw, poke a hole at the top of each ornament. From experience, a toothpick is not big enough. Bake at 175 degrees (F) for 30 minutes, than rotate the cookie sheets and bake for another 30 minutes. Let cool.

Once cool, you can paint them to your heart's desire or just leave them white.

A few add-ins:
When kneading the dough, I added in silver glitter and kept on kneading the dough to distribute it evenly. I probably used about 1 cup of glitter but I just kept on adding more until I thought there was enough. In hindsight, I would either add more, or use a finer glitter; the stuff I used was pretty big.

You can also try adding food coloring to the water before you mix everything together.

(Slightly adapted from Tips from a Typical Mom Blog )

Whatever you do, have fun! And poke big enough holes!

Kate

Monday, December 15, 2014

Christmas Ornament Tutorial for Framing

Hi Friends!

I am super excited to post today because I have crossed off #9 on The List! I even have a pretty easy tutorial on how to finish them.

But first,  a little story. On Saturday afternoon we were driving to my son's Christmas Concert (3 year olds singing Christmas songs would melt even the iciest of hearts, tbh) and I mentioned to my husband that I wasn't feeling very fulfilled creatively. I read a number of blogs and follow a number of crafters on Instagram and seems like they are just finishing projects left and right and I'm not getting anything done. As I was unpacking all of my sewing and crafting supplies, I realized I have WAY WAY WAY too many projects that haven't been started (hence, this blog and a topic for another day) and that overwhelming feeling has been following me around for the past couple of weeks. So last night when we got home and the kids passed out in their beds I realized I had to make the decision to actively work to get my projects done.

I thought about what I could accomplish in about two hours since I still need a decent amount of sleep and realized I could probably put together all of the Christmas ornaments I had cross stitched and hang them on the tree this year!

I used little plastic gold frames for these ornaments. My mom bought me a whole bunch a few years ago and now it is time to use them. These frames didn't come with any backing in them so I used the cardboard on the back of a giant pad of paper I bought the kids from the Dollar Store as backing.

I used the frames as a guide to cut circles out of the cardboard and backing material.
Happy Little Circles
 I then used the cardboard as a guide to cut out the cross stitch material as well. Holding it up to a light helped to center the cross stitch.
Sometimes, I have a good ideas!
I used Elmer's Multi-PUrpose Spray Adhesive.

I used old Thomas the Train placemats as work surface. Be aware, though, that Elmer's Glue has a wide spray area; my 12 1/2" square ruler was just to the left of this placemat and it got covered in glue. 

No Glue
 Spray that circle!
Lots of Glue!
I stuck the backing material to the sticky side of the cardboard circle. As you can see, my cardboard circles and my fabric circles were somehow not the same size. I just cut the fabric to fit the circle.
How hard is it to cut circles?

I sprayed the opposite side of the circle and stuck the cross stitch onto it, trying very hard to make sure the design was as close to the middle of the circle as possible.

Yes, the Gingerbread Lady has no eyes. 
 Once I had both the cross stitch and the backing material on the circle I just kind of jammed it into the frame. I had to do a little finagling with scissors to get the thing to fit but they turned out fine.

Santa

Church

Bird

Candy Cane Heart


House

A few thoughts or, rather, learn from my mistakes.

1. After you cut out the cardboard circles, make sure that they fit into the frame. The first one I made, I used the inside of the frame to make my cardboard circle and after I had cut both the backing fabric and the cross stitch pattern I realized it was too small for the frame.
I wasn't feeling the joy when I realized I had done this! 

2. There's nothing saying you have to use the fabric on the back; I did because I thought it looked pretty. That being said, if I had to do it over again, I might have layered a piece of lightweight batting between the cardboard and the cross-stitch design in order to give it a little more....oomph. 

3. I've had these for so long but I'm pretty sure they are all JanLynn designs. 

That's it! I'm so happy to finish something that was on my List! What's even better is I have crossed off two more items (one by default but it still counts, right?). I'll be talking about the next one later in the week. 

So, what are you working on these days? Trying to get ready for the holidays? Anything you want to submit for December CraftBusters? Remember to get your submission into me by December 30 in order to win a $25 gift certificate to JoAnns (US Residents only, please). 

Have a Happy Week!

Kate


Monday, August 4, 2014

Summertime!

It's summer! The last couple of months have just FLOWN by here in our house. We've had pre-school "graduations" (very cute but ridiculous to call it a graduation), beach excursions for birthdays, tea parties, matching shirts for Father's Day, fireworks in the backyard, cousins and aunts and uncles visiting, and I have two extra helpers in the kitchen lately wanting to help with every meal I make (sometimes a good thing, sometimes not so much).


We've also decided to put our house on the market but before we do we have had to do some sprucing up around the place. But with all this packing up and cleaning I have been doing a lot of de-cluttering and have gotten rid of so much stuff.  So. Much. Stuff. It's amazing. It's  kind of embarrassing how much stuff we have but it feels so good to give it away and get what's leftover organized.


But with packing up and making the house ready for strangers to walk through (ugh) I did put a lot of my sewing/crafting stuff in storage (and by storage I mean my in-laws garage!). I do know myself, though, and I have to keep some sort of project going, so I kept a few of my counted cross stitch projects here at home so I can work on those during down times. My thinking is I can get the stitching stuff done on a few projects and once we are at the new place and settled in I will finish them to completion! I do have an unspoken agreement with myself that I will not purchase any new craft or sewing project until I finish at least ten from my list. Confession time: I may have bought some Christmas fabric for a project that I already have but didn't have the fabric to complete it. That doesn't count, right?

This little plan has worked so far: I've finished an Easter sampler and some Christmas ornaments and now I am working on something for Autumn.


I'm thinking of adding their names somewhere

One for each of the girls


Right now back stitching the quilt.


I'm also going to try and post once a week if only to show the progress that I have made on any given project. 

I have so many ideas running around in my head. My latest idea is to take this giant, ugly quilt top I started eight or nine years ago, finish it and make it into a picnic blanket. I've found we have been taking lots of picnics or going to lots of parks this summer and we need a giant picnic blanket for everyone to spread out on. But I've got some cool ideas to make it awesome. Guess I will have to add that to The List.

What's everyone been working on this summer?? Let me know in the comments below, I love to hear from you!


Friday, April 4, 2014

Sidetracked Again

As we all know, I have a problem.

I have far too many projects- 75+ and counting.

Hence, the lottery and this website.

Plus I am easily sidetracked by seasonal stuff I want to do-I made some glitter X's and O's for Valentine's Day I haven't posted about, St. Patrick's Day garland seen here and made more awesome here, Halloween costumes , and so much more! There's actually a couple more counted cross stitch items I need to add to The List .

But there's just so many awesome things to do, you know? And sometimes hand quilting can get SO boring and I need to change it up a little.

Anyway, what I am trying to say is this: I've been side tracked.

Again.

But it's for a good reason! I swear!

Here's how it all started. I saw on Facebook that one of my favorite quilt stores, The Wild Rose Quilt Shop, needed help with some counted cross stitch samples. They are opening up a little sister store in one of the cruise ports in Alaska this summer and, among other things, will be selling Alaskan themed ornaments.

Hello?!?! How could I say no to that request? I like love counted cross stitching and I'm really good at it. So, for the last two weeks, I have been busting these bad boys out every couple of nights.


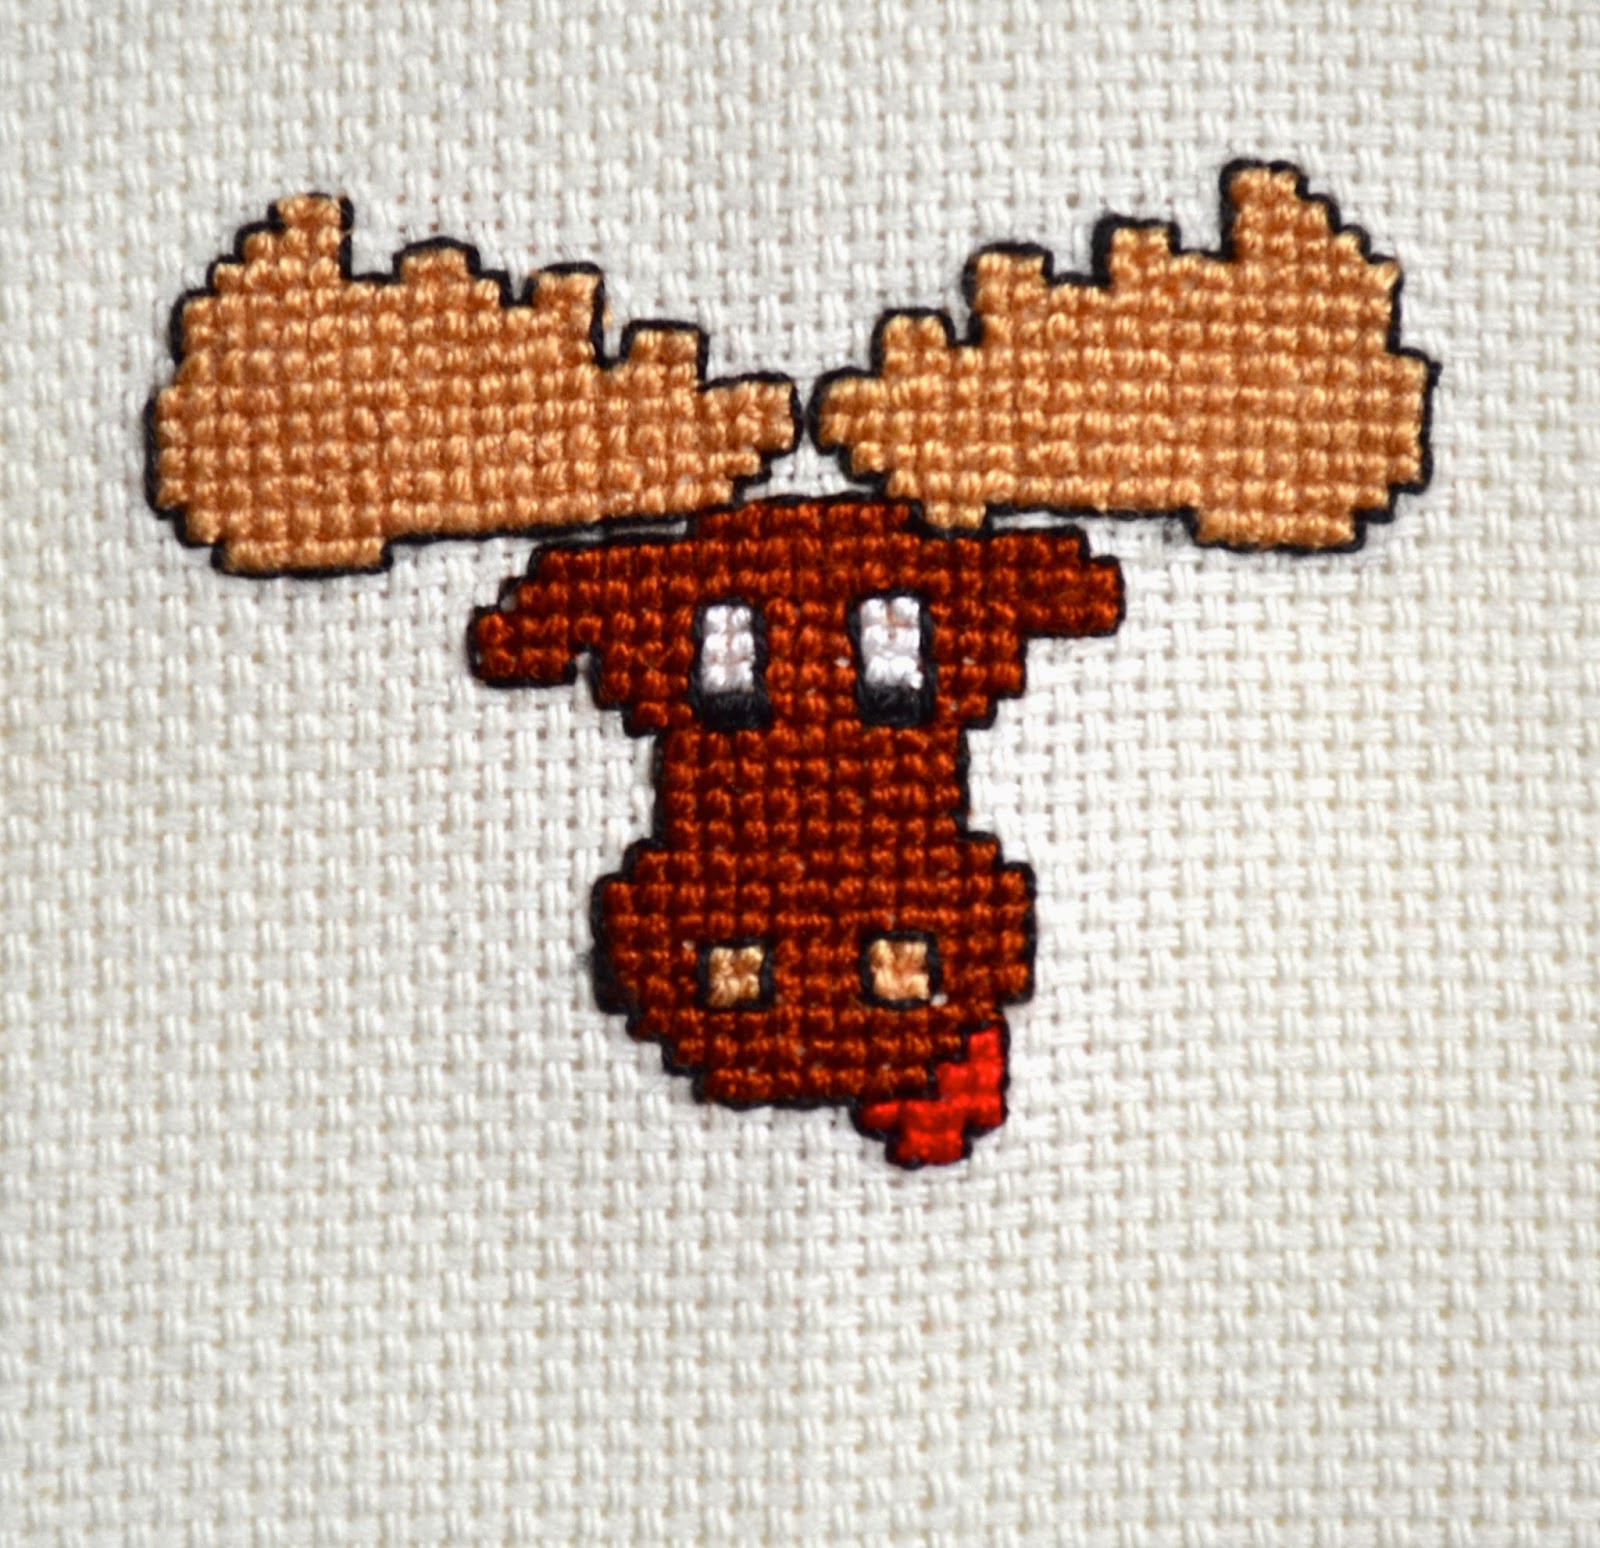
I have liked working on them since they aren't my usual subject matter. They are really small (stitched on 22 count Aida cloth) and go really fast.

I hope to have all of them stitched by next week and can spend next weekend framing them.

What are you working on these days?